Birdseed Biscuit
Since we do have the new baby birds, the girls wanted to
find a way to make sure they were well fed.
I found a few recipes online for birdseed biscuits and thought I would
try them.
The first recipe we tried was from The Virtuous Wife http://www.amandathevirtuouswife.com/2012/02/birdseed-biscuits-kid-craft.html and it used just flour and water. It seemed to mix up okay enough, but when it was time to pop them out of the cookie cutters, they just crumbled. I am guessing this recipe would still work if you just use a little more flour than what was called for.
The next recipe we tried came from The Domesticated Princess http://thedomesticatedprincess.blogspot.com/2012/07/bird-seed-biscuits-attempt-2.html . She seemed to have had the same problem with the flour mixture and found a recipe that uses gelatin instead. It is mixed on the stove in order to dissolve the gelatin, so the girls weren’t able to do the whole project, but I did make sure they were part of the measuring and pouring. These biscuits really seemed to work. We let them cool overnight and they popped right out of the cookie cutters without crumbling!


Hospital Visit and Crafts
We spent an afternoon visiting one of Hannah’s friends at
Children’s Hospital. The girls loved
spending time with their friend and had fun playing at the hospital and doing
some of the crafts they had available. I
have been so impressed with Children’s this past year with our own experiences
and was not disappointed during this trip.
They had a craft of the day in their playroom and many more crafts and
toys to play with as well.


Famous Art Outlines
Since Hannah is taking an art class this summer on famous
artists, I thought I could bring that home as well. I showed them some famous artwork, like the
Mona Lisa and Starry Night, and then found the outlines of those pictures
online. Just google “Outline of Mona
Lisa” and you’ll find pictures for the kids to color in.


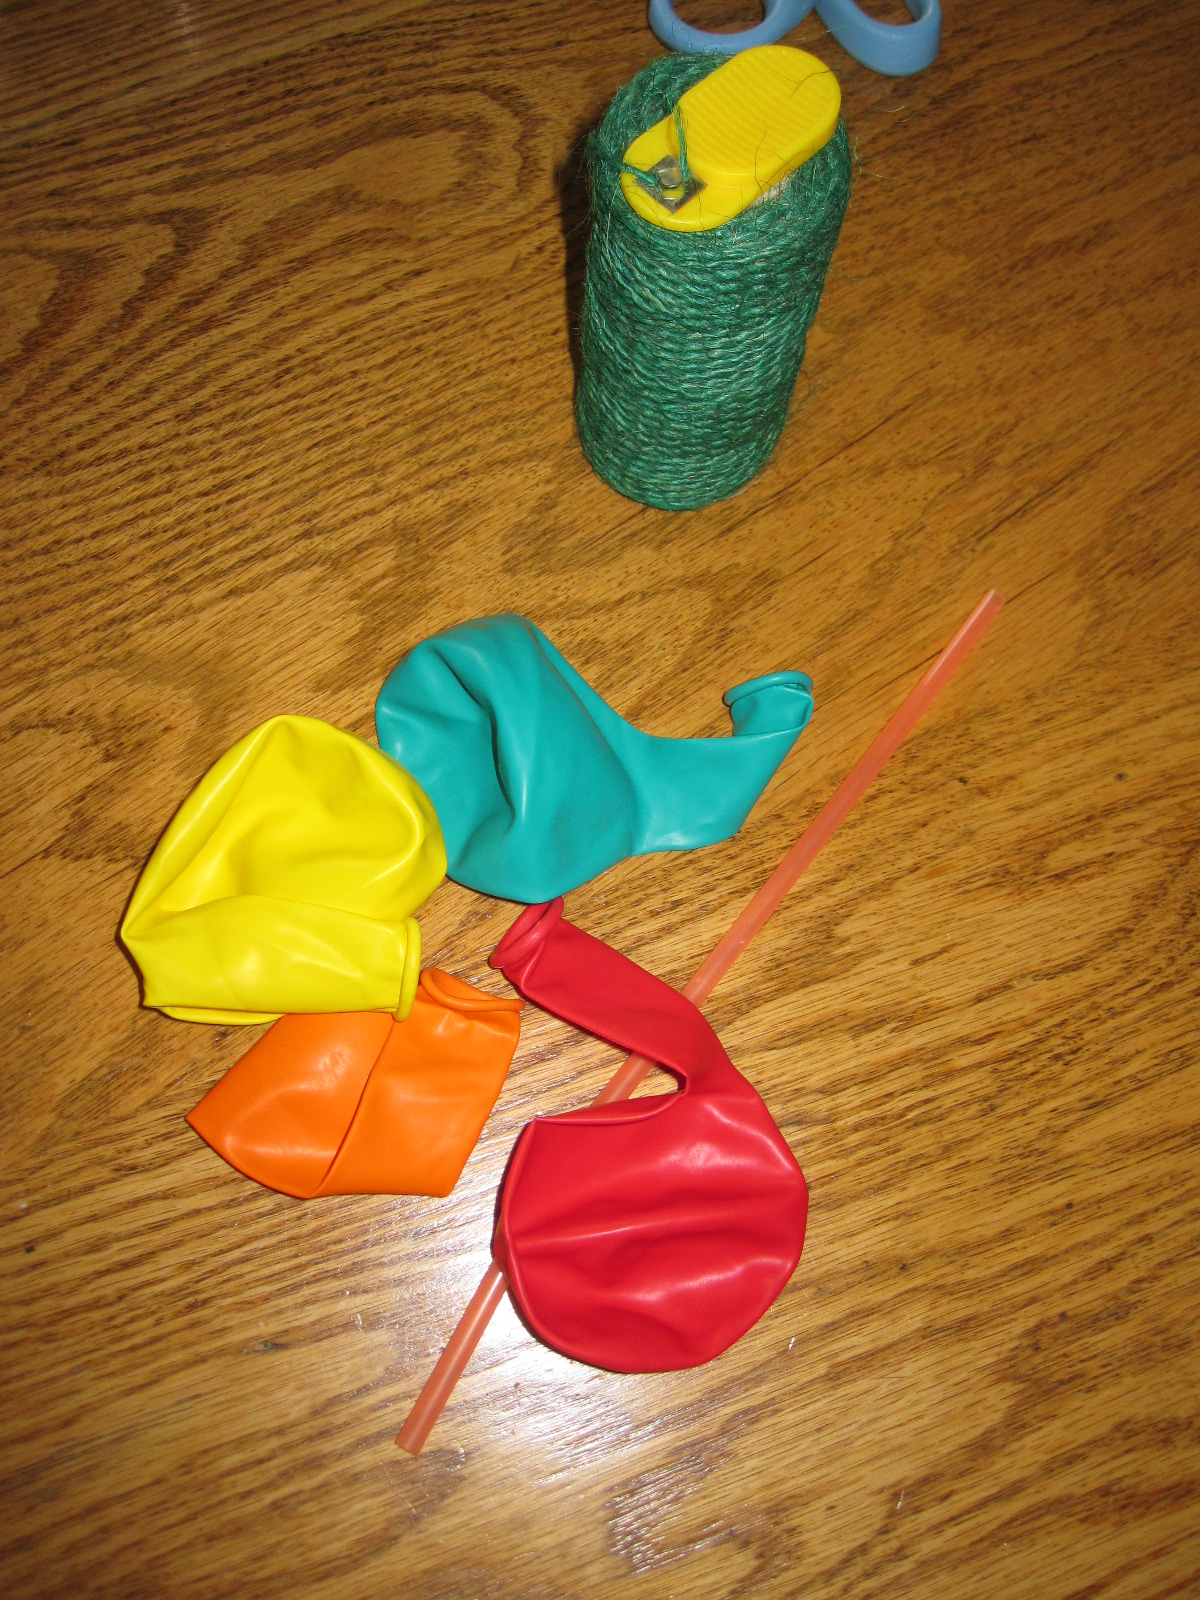
Balloon Rocket
This idea came from Science Bob http://www.sciencebob.com/experiments/balloonrocket.php
It’s a pretty simple experiment to set up, but it still didn’t work exactly like I thought it would. You’ll need a string that has less friction than the twine that we had on hand and probably a different balloon than the round ones we have. In spite of that, the girls still loved it. The balloon didn’t shoot straight down the string, but went around and around. The girls thought it was hilarious, so I’d still say it was a winner!
It’s a pretty simple experiment to set up, but it still didn’t work exactly like I thought it would. You’ll need a string that has less friction than the twine that we had on hand and probably a different balloon than the round ones we have. In spite of that, the girls still loved it. The balloon didn’t shoot straight down the string, but went around and around. The girls thought it was hilarious, so I’d still say it was a winner!
Melted Bead Suncatcher
This idea came from the Crafster site, http://www.craftster.org/forum/index.php?topic=185741.msg1943136#msg1943136
and although I chose to make smaller ones, I still love how they turned out. We had a lot of these little beads left over
from other crafts and the girls really like mixing them together in our silicon
pan. It took about half an hour in a 400
degree oven to completely melt them, but it will depend on your pan and your
oven. They came out with rough edges so
we plan on filing them down and then drilling a hole in them so we can hang
then with string.

 |
| Beads ready to go into the oven |
 |
| All melted |
 |
| Our finished products after they cooled |
No comments:
Post a Comment